How to install HCL Connections for MAC
Users can install HCL Connections for Mac following these steps.
About this task
Note
To install HCL Connections for Mac you will need OS X 10.8 or later.
Procedure
-
The software packages are available at this link: https://downloads.ce.cloud-y.com/HCL/Connections/Connections_for_Mac/
-
You must authenticate with your user to access to the software. Into the folder you'll find a file named HCLConnectionsMac_Latest.zip that is the last version available for the connector and that you must download.
-
Double-click HCLConnectionsMac.pkg to launch the installation program. The Install HCL Connections For Mac installer window appears.
-
Click Continue to begin the installation wizard. Follow the steps in the wizard to complete the installation.
-
When the installation is complete, click Close to exit the installation wizard. The sync app will automatically start at the end of the installation.
What to do next
In this guide we will use this information to fill all fields:
| Display Name | Factor-y |
|---|---|
| Site URL | https://freedom.cloud-y.com |
| User Name | spencer.elliot@freedom.cloud-y.com |
| Password | an hidden password |
| Authentication Type | OAut Authentication |
When you open HCL Connections for Mac for the first time, the sync app automatically prompts you to create a new account if one does not already exist. You can manually set up an account. Creating an account allows you to connect to an HCL Connections site and interact with that site from the "Finder" window or the HCL Connections icons in the Dock and menu bar.
-
Open HCL Connections for Mac by clicking the icon in the Dock or locating and clicking it in the Applications folder of your Finder window.

-
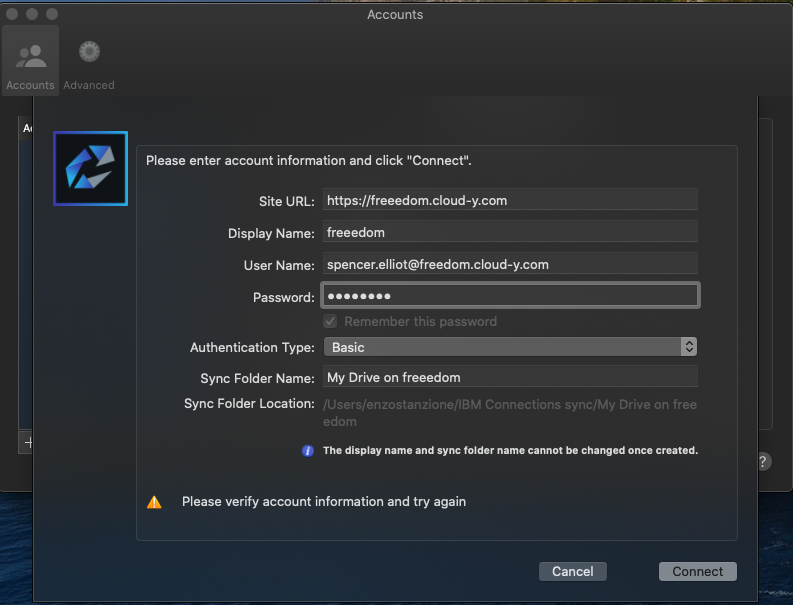
In the Site URL field type the URL you use to connect to HCL Connections. For example, https://<customer_tenant.cloud-y.com>.

-
In the Display name field, type the name that you want to display for the sync folder in the Finder window. For example, the folder is named Display-name sync.
-
Enter the user name and password you use to log in to that SmartCloud-y Connections site.
-
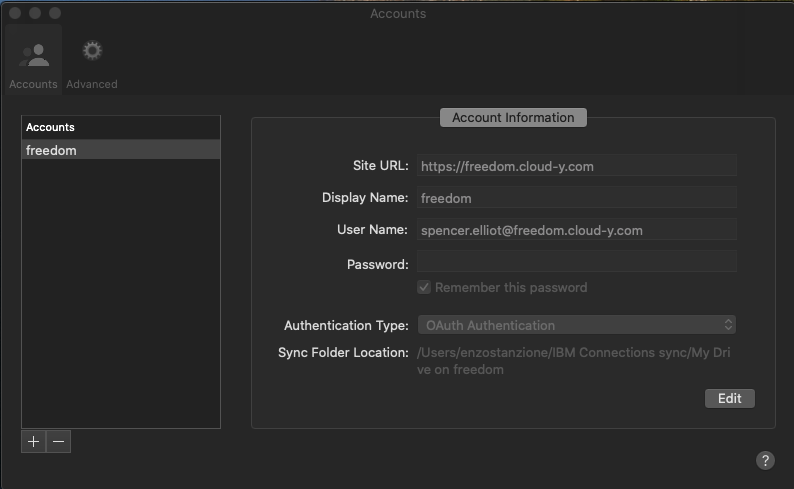
Select an authentication type if there is a reason to change it from the default. By default, the plug-in authenticates with the HCL Connections server using basic authentication.You must select OAuth Authentications.
-
Click Connect.
-
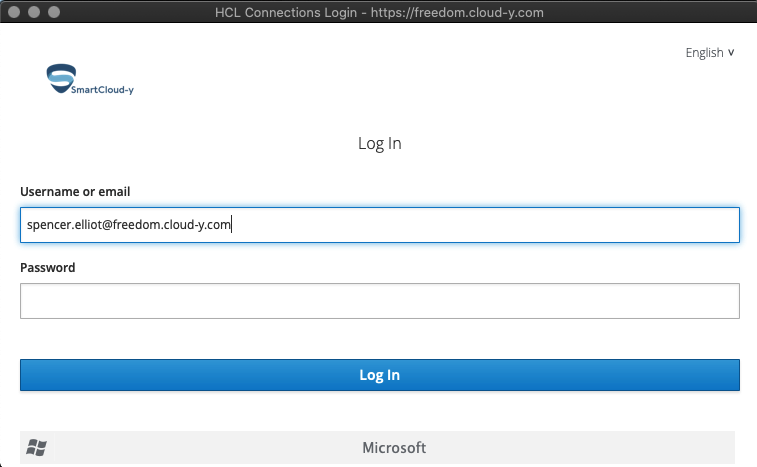
Will appear web form for SAML authentication and fill it with user id and password you usually use to connect to SmartCloud-y services.
-
Click Log In

-
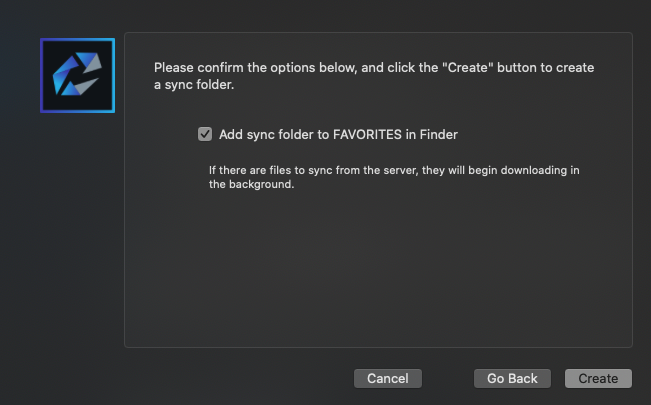
Will appear a windows where you are informed that will be created a sync foder and for default it will be added to your Favourite in Fineder.

-
Then click "Create"
-
If you already have some files in your Connections "My Drive" after you click create, on right top of your Mac will appeare activity that sync all existing files in your "My Drive" to your pc.


-
Now your Connections for Mac is ready to sync your My Drive on the Mac.
